
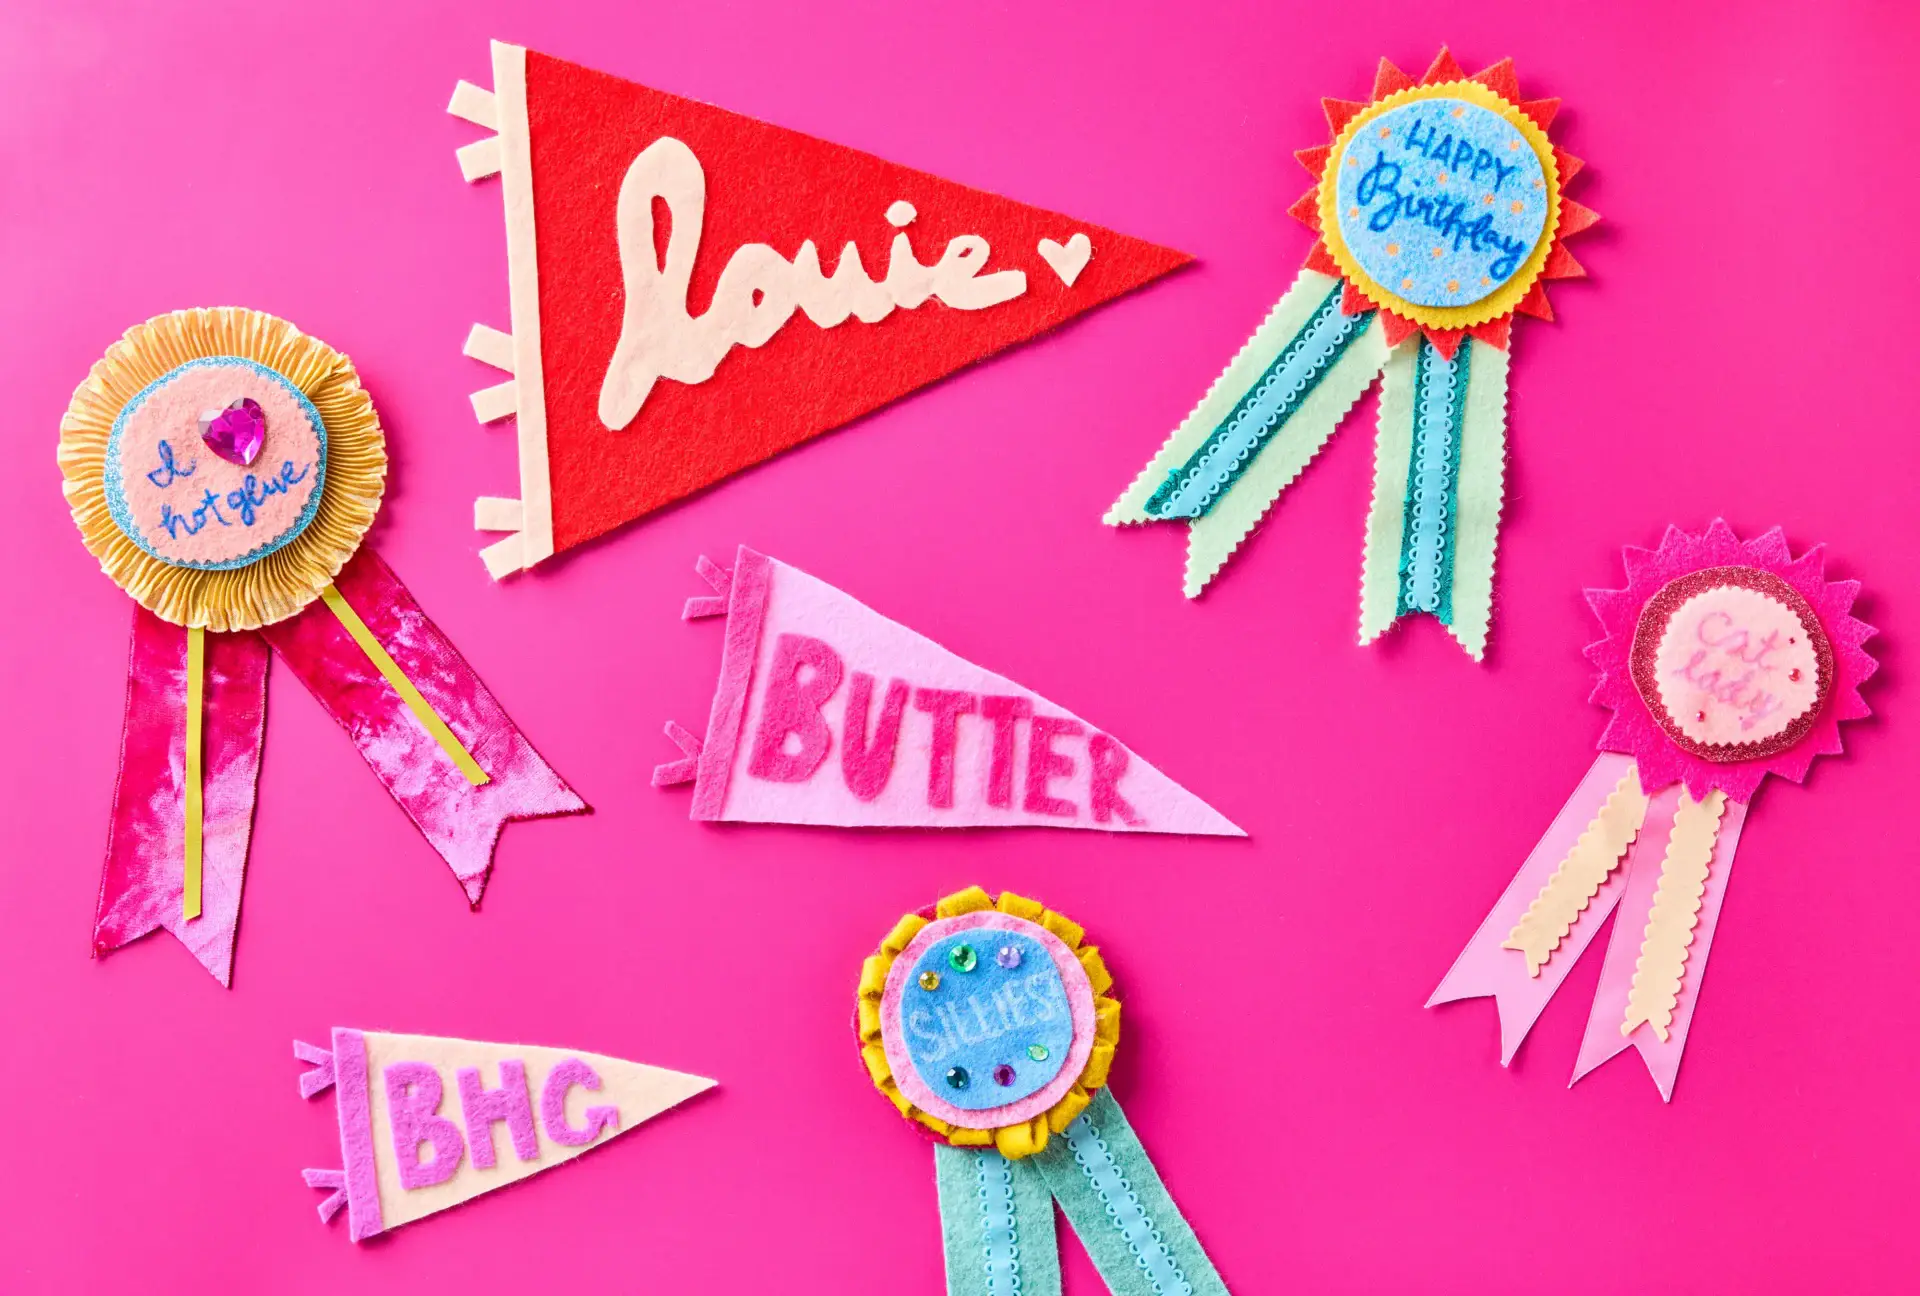
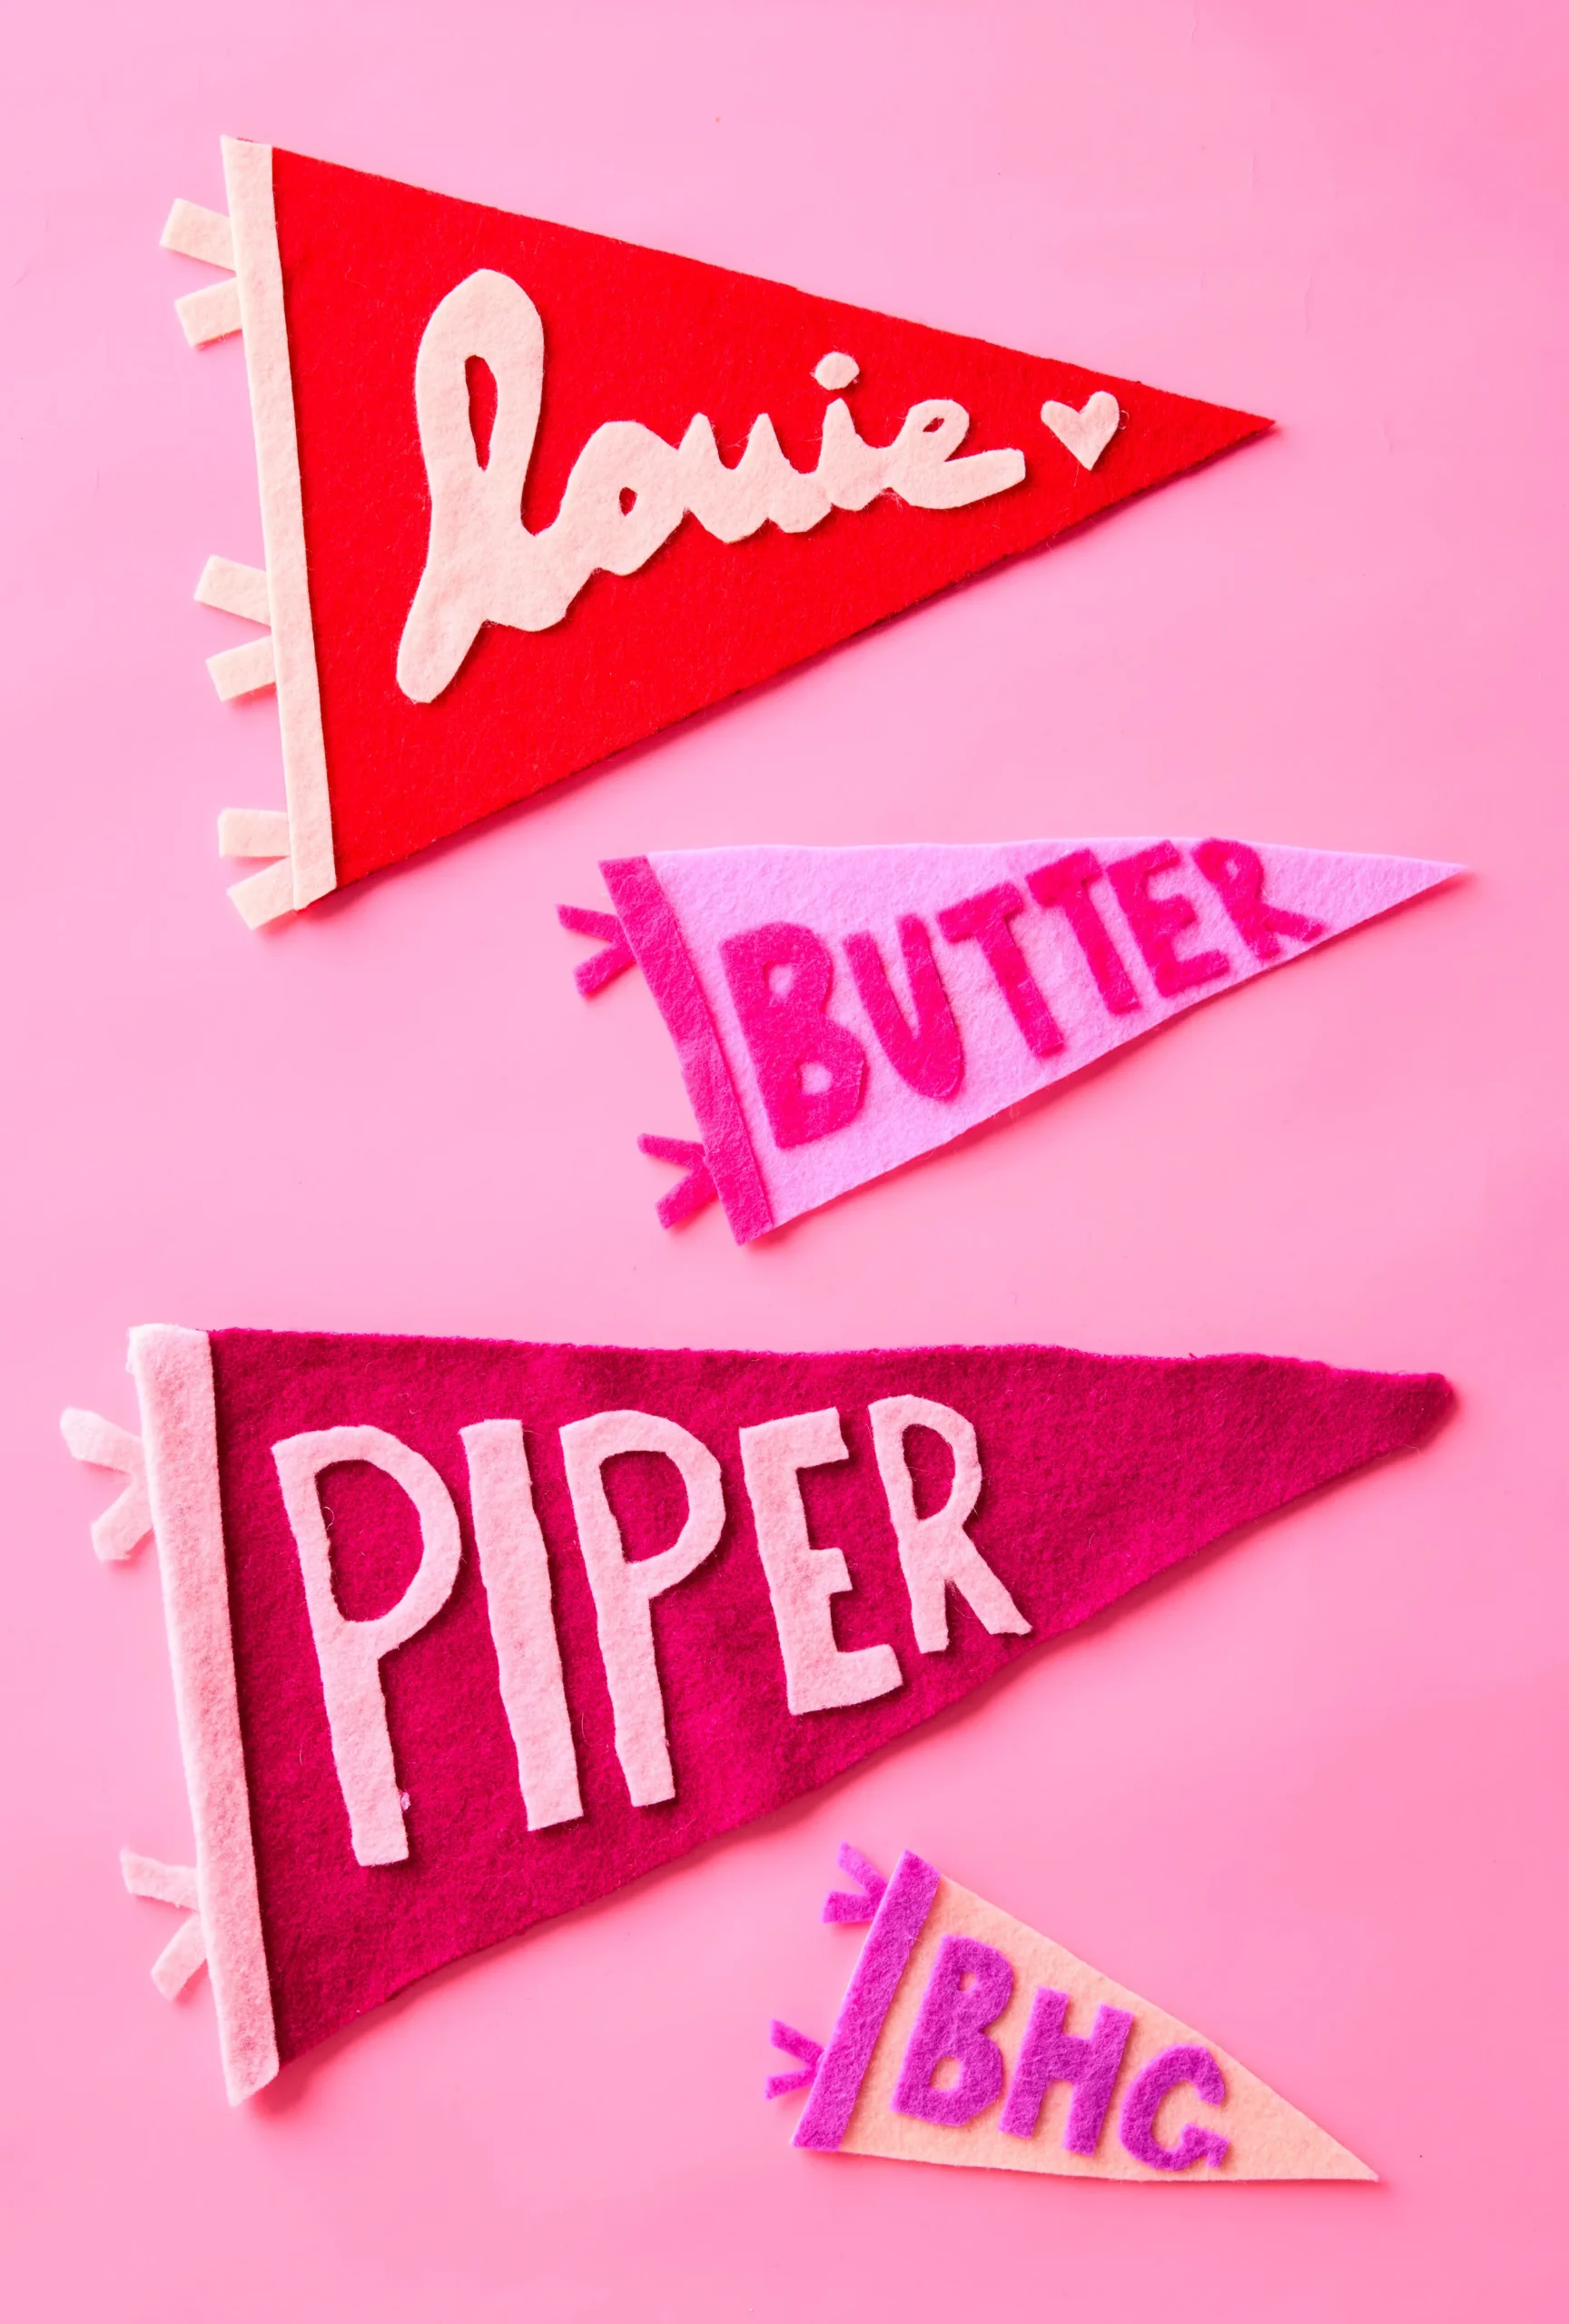
Felt is having a real moment in the spotlight in the DIY world, and we are completely smitten with this trend that is both accessible and creative. When the time came to choose our next Craft Club project, we kept coming back to a single material: felt, that non-woven fabric with infinite possibilities. It is affordable—a simple pack costing just a few euros is enough to get started—available in a stunning palette of colors, easy to work with even for complete beginners, and incredibly versatile. Our Pinterest board was literally overflowing with felt project ideas, to the point that we simply couldn’t stop at just one. So we chose two complementary projects: decorative pennants and award ribbons, both quick to make, beginner-friendly, and perfect for a creative afternoon with friends or family.
To make a felt pennant, start by cutting a harmonious isosceles triangle from a piece of felt in the color of your choice—just make sure you have two long sides of equal length and a shorter base for a balanced look. Next, cut letters out of thick paper to create reusable stencils. Use these paper letters as templates to trace and cut the letters from a contrasting color of felt. Carefully align the felt letters on your base triangle and attach them with hot glue, pressing firmly. To avoid unsightly ink marks on your final project, trace the letters backwards on the back of the felt—a pro tip that makes all the difference. To finish the pennant, cut a strip of felt slightly longer than the short side of your triangle, hot glue it onto the short side, fold it to form a tube, and slide a thin wooden dowel or sturdy straw through it to hang your creation on the wall.
Award ribbons follow the same crafty method but can be endlessly customized with different colors, patterns, and embellishments. Trace three circles of slightly different sizes onto felt in coordinating colors—the smallest will be the front layer of the ribbon, the medium the middle layer, and the largest the back layer. Elegantly layer the three circles and hot glue them together, carefully centering each level. Cut two lengths of ribbon or felt strips to form the traditional tails and carefully glue them to the back, not forgetting to add a safety pin or a strong magnet to the back so you can proudly wear them on clothing or display them on a magnetic board.
Now that you have mastered the basic techniques, the customization possibilities are truly endless and just waiting to explore your creativity. Add sparkling glitter, delicate beads, meticulous embroidery, or satin ribbons to create unique and personalized pieces. Use seasonal colors for themed holiday decorations—orange and black for Halloween, red and green for Christmas, pastels for Easter. These projects are perfect for birthday parties, rustic weddings, baby showers, or simply to brighten up a bare wall with a touch of color and good cheer. With a simple pack of felt costing just a few euros and a hot glue gun, you can create an entire collection of handmade decorations and gifts that will impress your loved ones and bring a personal, warm, and colorful touch to your home all year round.