
Do you have a piece of furniture that could use a makeover or would you rather give it an upgrade than throw it away? Easily refresh your furniture with our guide to varnishing for optimal results.

Ventilation Is Important
Ensure you have adequate ventilation during varnishing to prevent dust from settling on wet surfaces. Open windows, vacuum the area, and protect floors from varnish, which is difficult to remove from laminate flooring or carpets. Additionally, keep windows open for fume dispersal.
Understanding Varnish Types
Choose from water-based, oil-based, or acrylic varnishes. While oil-based options are durable but slow to dry, water-based alternatives are less harmful, easier to clean up, but offer less durability.
Removing the Old Finish
If you are working with previously finished wood, consider removing the old finish using methods such as paint stripper or paint thinner. Then sand the piece with fine-grit sandpaper (180-220) to ensure good adhesion.
Preparing the Wood
Sand the piece to remove any sheen or residual paint, using fine-grit sandpaper (180-220). Thoroughly clean the wood to remove dust or residue before applying varnish.
Preparing the Varnish
Prepare the varnish differently for the first coat based on its type. For oil-based varnish, mix one part varnish with one part paint thinner; for water-based varnish, mix one part varnish with one part water.
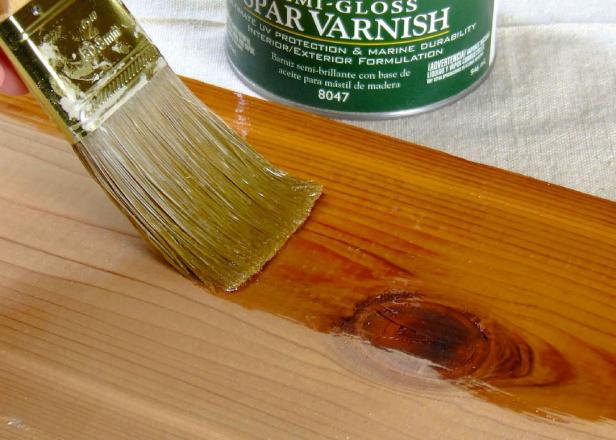
Application Process
Apply the varnish using a flat brush or foam applicator, using long strokes following the wood grain. Let it dry for 24 hours before sanding with a 280-grit sanding pad, wiping down, and applying subsequent coats.
Repeat the Process
Apply two to three additional coats, allowing drying time between each coat. Ensure you are happy with the shade and applications before letting the varnish dry for at least 24 to 48 hours, or follow the specific drying time mentioned on the varnish can.