
Artificial grass, a growing trend in landscaping, is a popular choice among UK homeowners for enhancing gardens and outdoor spaces. Known for its easy maintenance and attractive appearance, you might be curious about how to install artificial grass on the ground. This article will guide you through the process, highlighting the benefits of this versatile landscaping option.
Benefits of Artificial Grass
Opting for artificial grass in your garden or outdoor space can offer several benefits:
Minimal Maintenance: One of the main advantages of artificial grass is its minimal maintenance. Unlike natural lawn, it doesn’t require mowing, trimming, or intensive care, making it ideal for those with a busy lifestyle or who dislike gardening.
Water Conservation: Artificial grass doesn’t need watering to maintain its green appearance, which is beneficial for the environment and helpful during water restrictions.
Eco-Friendly: It is environmentally friendly thanks to reduced reliance on lawn maintenance equipment that emits greenhouse gases.
All-Season Use: Synthetic lawn is resistant to various weather conditions, avoiding the muddy or dried-out appearance that natural grass experiences.
Durability: It is durable and suitable for high-traffic areas, making it an excellent choice for sports fields as well as domestic gardens.
Aesthetic Appeal: Artificial grass maintains a vibrant appearance without constant upkeep, adding to the beauty of your garden.
Allergy Reduction: For those with allergies, synthetic lawn does not produce pollen, offering a more comfortable outdoor experience.
Weed Resistance: A weed membrane installed under the grass prevents weed growth, reducing the need for herbicides.
Pet and Child Safety: Certain types of artificial grass are designed to be child and pet friendly, with features such as shock absorbers and odor resistance.
Installing Artificial Grass on the Ground
While it is technically possible to lay artificial grass directly on the ground or over existing natural grass, this is not recommended due to potential unevenness and maintenance issues. Instead, use a sub-base for a more practical and aesthetically pleasing result. Here is a step-by-step guide:
Surface Preparation: Clear the existing lawn down to the soil layer, removing weeds, plants, or debris. Remove the topsoil to create room for the sub-base (about 3-4 inches) and level the ground.
Adding the Sub-Base: Choose from various sub-base materials such as sand or granite/concrete. Level it over the ground.
Installing the Weed Membrane: Lay the weed membrane either above or below the sub-base to prevent weed growth, securing it to the garden border.
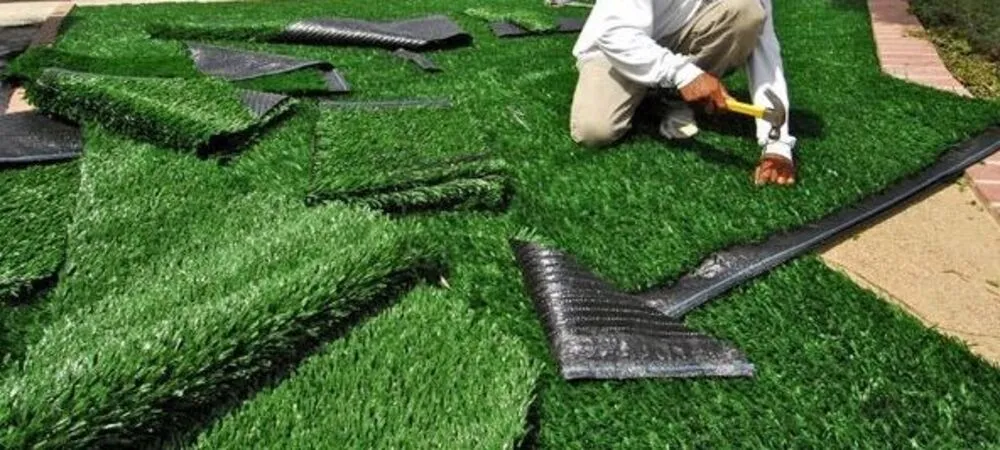
Laying the Artificial Grass: Cut the grass to match the size of your garden. Lay it over the weed membrane, ensuring the grass fibers face towards your property for the best aesthetic result. Trim the excess grass and smooth it out.
Joining the Grass: Align the grass at the seams and use adhesive, tape, or small nails to secure them. Attach the edges with pins.
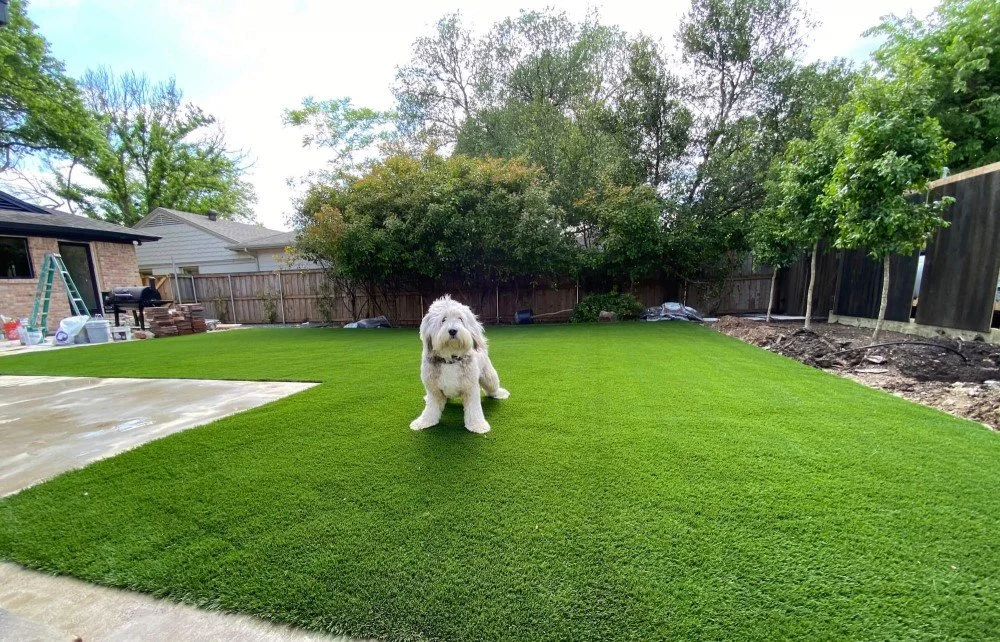
Once these steps are complete, your artificial grass is ready to be enjoyed.
For more home improvement tips and tricks, including how to enhance gardens and outdoor spaces, explore the wide range of articles available on our website.